
13
Stepping onto your lawn after the winter thaw or a wet spring to find your once-uniform turf crisscrossed with raised ridges, bare trenches, or unsightly dirt mounds is an experience every homeowner dreads. In a matter of weeks, small subterranean creatures can transform an emerald carpet into an uneven, ankle-turning obstacle course. The immediate reaction is often frustration, followed quickly by the urge to rush out with a bag of grass seed and a rake.
Successful lawn restoration requires patience and a clear diagnostic strategy. The techniques you use to fix the damage depend entirely on whether you are dealing with moles or voles. While their names sound similar, their biology, feeding habits, and destructive patterns are worlds apart. Treating mole damage like vole damage—or vice versa—wastes time and money while leaving the root problem unaddressed. Restoring your yard permanently requires identifying the pest, halting active tunneling, and methodically repairing the soil and turf canopy.
Identifying the Culprit: Moles vs. Voles
Before picking up a shovel or spreading topsoil, you must confirm which animal is tearing up your yard. Moles and voles operate in entirely different ecological niches, leaving distinct architectural footprints across your property.
The Subterranean Signs of Moles
Moles are insectivores belonging to the family Talpidae. They spend almost their entire lives underground, searching for earthworms, grubs, beetle larvae, and other soil-dwelling invertebrates. Because they do not eat vegetation, they do not feed on your grass blades, crowns, or roots. The damage they cause is purely mechanical.
As moles dig in search of prey, they create two distinct structural features:
-
Raised ridges: These long, squishy swells sit an inch or two above the turf line. They occur when a mole excavates feeding tunnels just below the surface, pushing the turf upward and breaking the roots away from the underlying soil. Walking on these areas feels spongy and unstable.
-
Volcano-shaped mounds: Often called molehills, these symmetrical piles of fine, excavated dirt appear when moles dig deeper, permanent living quarters and nesting chambers. The soil is pushed upward through a central vertical shaft, creating a circular mound with the entrance hidden beneath the center.
The Surface Destruction of Voles
Voles, commonly known as meadow mice, are small rodents belonging to the genus Microtus. Unlike solitary, insect-eating moles, voles are prolific herbivores that feed heavily on grasses, herbaceous plants, flower bulbs, and the tender bark of trees and shrubs.
Voles typically do not create massive piles of excavated earth. Instead, their destruction takes place along the surface:
-
Sunken surface runways: Voles chew distinct pathways through the turf canopy, creating open, winding trenches roughly one to two inches wide. These runways become glaringly obvious in early spring after the snowpack melts, exposing the network of highways voles used for sheltered travel throughout the winter.
-
Clipped grass crowns: Along these runways, you will notice that the grass has not merely been lifted; it has been gnawed down to the bare soil surface. Voles clip the vegetative matter right at the crown.
-
Girdled woody plants: In severe cases, voles chew the lower bark off young trees, woody ornamentals, and perennial shrub borders, often creating a clean, ringed band of missing bark near the soil line that can kill the plant if left unchecked.
Addressing Active Infestation Before Starting Repairs
Attempting to grade soil and plant premium grass seed while an active population still burrows through your yard is an exercise in futility. New tunnels will undermine fresh seedbeds within days, and voles will gladly treat tender, newly germinated grass seedlings as an open buffet.
To determine if the damage is historical or actively expanding, perform a simple collapse test. For suspected mole activity, firmly press down a foot-long section of a raised surface ridge with your heel. Mark the spot with a small landscaping flag or stick, and check it twenty-four hours later. If the ridge has been pushed back up, a mole is actively maintaining that runway. For voles, clear a small section of a surface runway of loose grass and place a small piece of cardboard over it; if fresh droppings or clipped stems appear beneath the cover overnight, the runway remains occupied.
If active tunnels are present, implement focused population management immediately. For moles, mechanical traps placed carefully inside active feeding tunnels provide the most reliable long-term control. Scent-based repellents containing concentrated castor oil can also encourage moles to migrate toward untreated perimeter areas by making the soil unpalatable. For voles, standard mouse snap traps baited with peanut butter and rolled oats, placed perpendicular to active surface runs under an inverted box or curved roof shingle, reduce populations quickly.
Once you observe zero new activity over a four-to-five-day window, you can shift your attention entirely to structural turf recovery.
How to Repair Mole Ridges and Volcano Mounds
Mole damage primarily presents two physical challenges: displaced soil on top of the lawn and air pockets underneath the root zone. Left alone, the grass sitting atop raised ridges will dry out and die because its roots are suspended in empty air, unable to draw moisture or nutrients from the subsoil.
Leveling Surface Ridges
Begin by walking along every visible surface tunnel and firmly tamping down the raised turf with your feet. The goal is to reconnect the lifted root system with the native soil beneath.
Avoid using excessively heavy mechanical lawn rollers for this step. While a heavy water-filled roller might seem like an efficient way to flatten the yard, the downward pressure often severely compacts the surrounding healthy turf, crushing soil pore space and creating chronic drainage problems. Instead, use body weight or a lightweight flat tamper. Apply steady, moderate pressure directly along the ridge until the sod sits flush with the adjacent grade.
Removing and Redistributing Soil Mounds
Never take a heavy rake and simply spread a fresh molehill across the surrounding grass. Doing so creates a thick layer of soil that smothers the healthy turf underneath, creating large, dead patches that invite weed establishment.
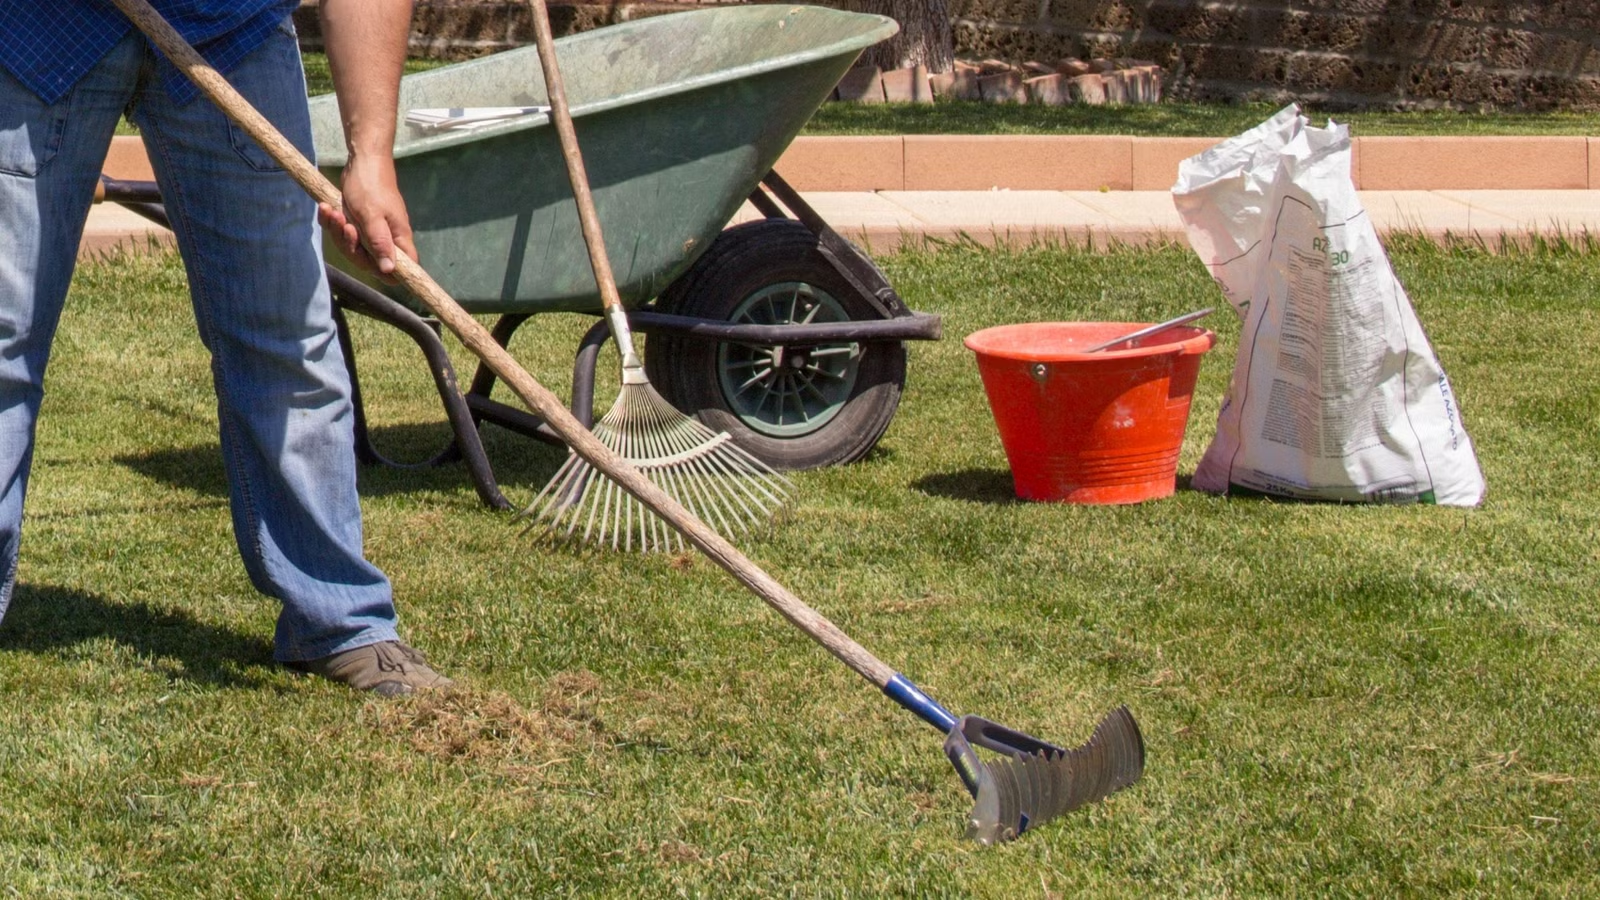
Instead, take a flat-edge transfer shovel and scoop up the bulk of the loose soil from each mound, depositing it into a wheelbarrow. This clean topsoil can be saved and mixed with compost to fill sunken areas elsewhere in your yard. Once the bulk of the pile is removed, take a stiff-bristled broom or a flexible leaf rake and gently disperse the remaining fine soil particles into the surrounding turf canopy until the grass blades stand upright and free of heavy debris.
Collapsing and Filling Deep Voids
Some mole runways are deep enough that walking on them causes the turf to collapse entirely, leaving deep ruts or sunken gullies. If you encounter deep voids where tamping down the ridge leaves a depressed trench:
-
Use a long screwdriver or soil probe to locate the hollow cavity running along the bottom of the trench.
-
Slit the turf lengthwise along the trench using a sharp edging spade or sod knife.
-
Peel back the edges of the sod carefully.
-
Fill the underground channel with a 50/50 mixture of clean topsoil and coarse sand, tamping the blend firmly to ensure no air pockets remain.
-
Fold the original sod flaps back down into place, press them firmly into the new soil base, and water thoroughly to encourage root reconnection.
Restoring Grass Ravaged by Vole Runways
Because voles focus their damage on the surface canopy rather than lifting the ground from beneath, repairing their runways requires a different mechanical approach centered on seedbed preparation and thatch removal.
Raking and Assessing the Crown
Start by vigorously raking all visible runways with a stiff garden rake or thatch rake. Remove the accumulation of dead, matted grass clippings, vole droppings, and loose debris that collected along the pathway over the winter. Cleaning this material away accomplishes two vital things: it exposes the soil beneath to sunlight and fresh air, and it allows you to examine the condition of the grass crowns.
In many cases, cool-season turfgrasses such as Kentucky bluegrass, tall fescue, and perennial ryegrass can partially recover from light vole grazing. If the roots and base of the plant crown remain firmly anchored in the soil and show small hints of green, the turf will often fill back in naturally once warm spring weather and standard fertilizer applications stimulate growth. However, if the runway reveals bare soil, exposed white root stubs, or crowns that lift away effortlessly like loose straw, the grass is dead, and the area must be reseeded.
Topdressing and Leveling the Runways
Vole runways frequently form slight depressions across the lawn where continuous traffic and heavy feeding have carved away the upper soil profile. To ensure an even, level mowing plane, topdress these trenches before seeding.
Spread a high-quality blend of finely screened compost and native topsoil into the sunken tracks. Use the flat back of a landscaping rake to strike off the mixture so it sits perfectly flush with the base of the surrounding healthy turf. This topdressing provides a fertile, moisture-retentive bed for new grass seed while eliminating tripping hazards and mower scalping points.
Overseeding the Damaged Paths
Once the runways are prepped and leveled, overseed the tracks using a grass seed blend that matches the species already present in your lawn:
-
Select appropriate seed: If your lawn is predominantly Kentucky bluegrass, use an elite bluegrass blend or a mix containing turf-type tall fescue and perennial ryegrass to balance establishment speed with long-term durability.
-
Ensure seed-to-soil contact: Distribute the seed evenly across the prepared topdressing. Lightly rake the seed into the top quarter-inch of soil using a metal leaf rake, ensuring the seeds are coated rather than resting entirely on the surface.
-
Apply starter fertilizer: Distribute a light application of a high-phosphorus starter fertilizer across the patched sections to encourage vigorous initial root architecture.
-
Roll or press the seed: Walk along the seeded runways or use a hand tamper to press the seed firmly into the soil. Good seed-to-soil contact is the single most critical factor in achieving uniform germination.
-
Maintain strict moisture: Keep the seeded repair areas consistently moist for the first two to three weeks. Lightly sprinkle the areas two to three times per day until the seedlings reach approximately two inches in height, then gradually transition to deeper, less frequent watering.
Protecting Ornamentals and Trees Damaged by Voles
While lawn restoration is the most visible task, do not overlook nearby landscape beds. Voles that strip turf in winter frequently gnaw on woody landscape plants when other food supplies run low.
Inspect the lower six inches of all young trees, fruit trees, boxwoods, and ornamental shrubs located near your lawn perimeter. If you find sections where the bark has been gnawed away, determine the extent of the damage.
If the chewing damage wraps completely around the circumference of the trunk—a condition known as complete girdling—the plant’s vascular cambium layer is severed, preventing nutrients produced in the leaves from traveling down to the roots. Fully girdled trees rarely survive without advanced intervention, such as bridge grafting performed by an arborist. If the damage covers less than half of the circumference, the plant will usually heal on its own. Protect the wound from further animal feeding by wrapping the trunk base in quarter-inch galvanized hardware cloth, ensuring the mesh extends two inches below the soil line and at least twelve inches above the anticipated snow line.
Cultural Practices to Keep Your Lawn Resilient
Once your lawn has recovered from past damage, structural and cultural adjustments to your routine yard maintenance will make your property far less inviting to future generations of both pests.
Autumn Mowing Adjustments
Voles require tall, dense grass cover to travel across open areas without being spotted by natural predators such as hawks, owls, and foxes. While maintaining a standard summer mowing height of three to four inches is ideal for root health and drought tolerance, you should gradually lower your cutting deck during the final two mows of late autumn.
Dropping the final cut to roughly two to two-and-a-half inches before the ground freezes prevents the grass canopy from laying over and matting down beneath the snowpack. This eliminates the sheltered, insulating tunnels that allow voles to forage unseen throughout the winter months.
Managing Mulch and Landscape Borders
Deep, loose organic mulch creates an ideal nesting habitat for voles right next to your turf. Keep mulch depths in landscape beds to a strict two to three inches, and pull mulch back at least four to six inches away from the trunks of trees and woody shrubs to create an exposed buffer zone that rodents avoid crossing. Additionally, maintain a clear, trimmed perimeter border along fences, rock walls, and woodpiles, which frequently serve as initial staging grounds for invading vole colonies.
Balanced Soil Health and Grub Management
Homeowners frequently assume that treating their lawn with chemical grub killers will instantly eradicate moles. While reducing excessive white grub populations can diminish one potential food source, it is not a complete preventative measure. Moles feed primarily on earthworms, which are vital components of a healthy, aerated soil ecosystem that you should never attempt to eliminate.
Focus instead on maintaining deep, healthy turf roots through proper core aeration, balanced slow-release fertilization, and deep, infrequent irrigation. A robust, well-established root system withstands minor subsurface disturbances far better than shallow, stressed turf, allowing your lawn to heal quickly from unexpected mechanical stress before weeds can gain a foothold.
Meta Title:
